A Homeowner's Guide to Navigating HOA Approval for Your New Roof
Replacing your roof is a significant investment that protects your home, enhances its curb appeal, and provides peace of mind for years to come. While choosing the right materials and contractor is exciting, for many homeowners here in the Orlando area, there's an important preliminary step: getting approval from your Homeowners Association (HOA). The thought of navigating HOA rules can feel daunting, adding a layer of stress to an already big project. But it doesn’t have to be.
Many communities have an HOA to maintain a cohesive aesthetic and protect property values for everyone. This often includes specific guidelines for roofing materials, colors, and styles. Understanding and following this process correctly from the start can prevent costly delays and ensure your project goes off without a hitch. This guide will walk you through the essential steps for a smooth and successful HOA approval process for your roof replacement.
Step 1: Understand Your HOA's Roofing Guidelines
Before you even start looking at shingle samples, your first move should be to become an expert on your community's specific rules. HOAs have these regulations in place to ensure consistency and quality throughout the neighborhood. Ignoring them can lead to fines or even being forced to remove a newly installed roof.
Start by locating your HOA’s governing documents, often called the Covenants, Conditions, and Restrictions (CC&Rs) or Architectural Guidelines. These can usually be found on your HOA's website or by contacting your property management company. Look for the section on exterior modifications or roofing. Pay close attention to:
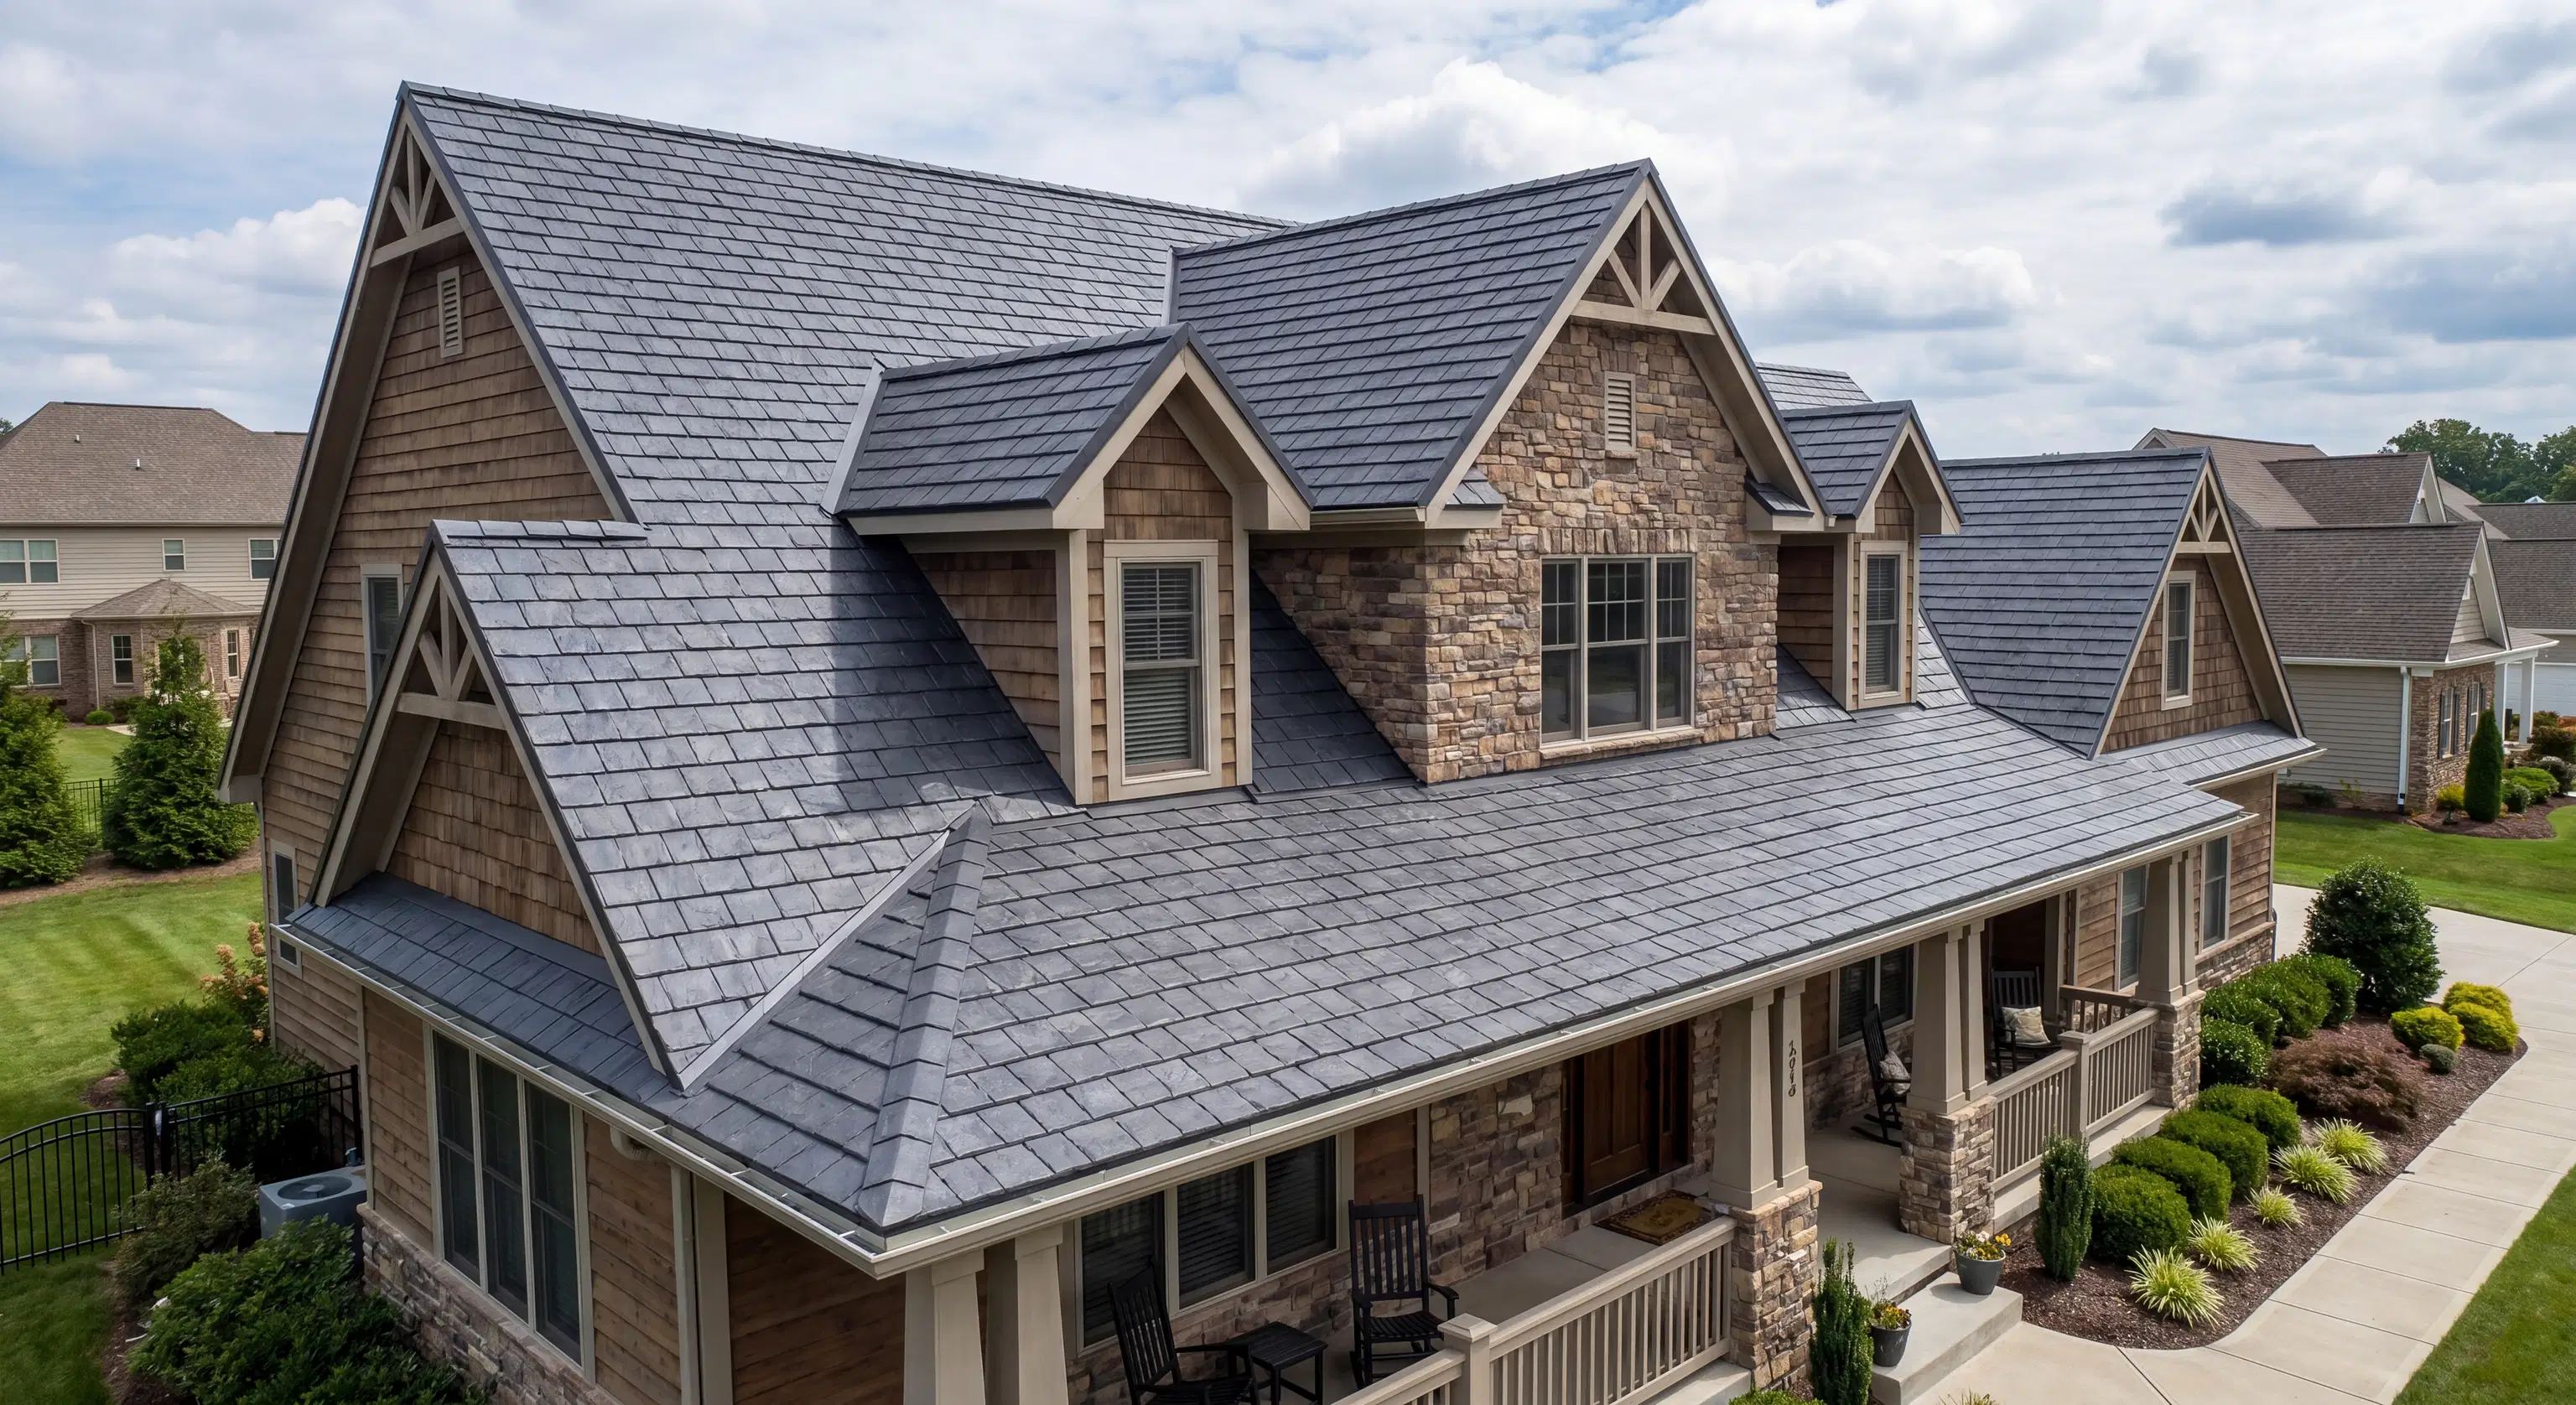
- Approved Materials: Some HOAs have a strict list of permissible materials. They may require architectural asphalt shingles and prohibit other options like metal or certain types of tile roofs to maintain a uniform look.
- Color Palettes: It's very common for an HOA to have a pre-approved list of colors. Your choice will likely be limited to a specific range of earth tones or other designated shades.
- Style and Profile: The guidelines might dictate the style of the roofing material, such as requiring a low-profile shingle or a specific type of tile to match the community's architectural theme.
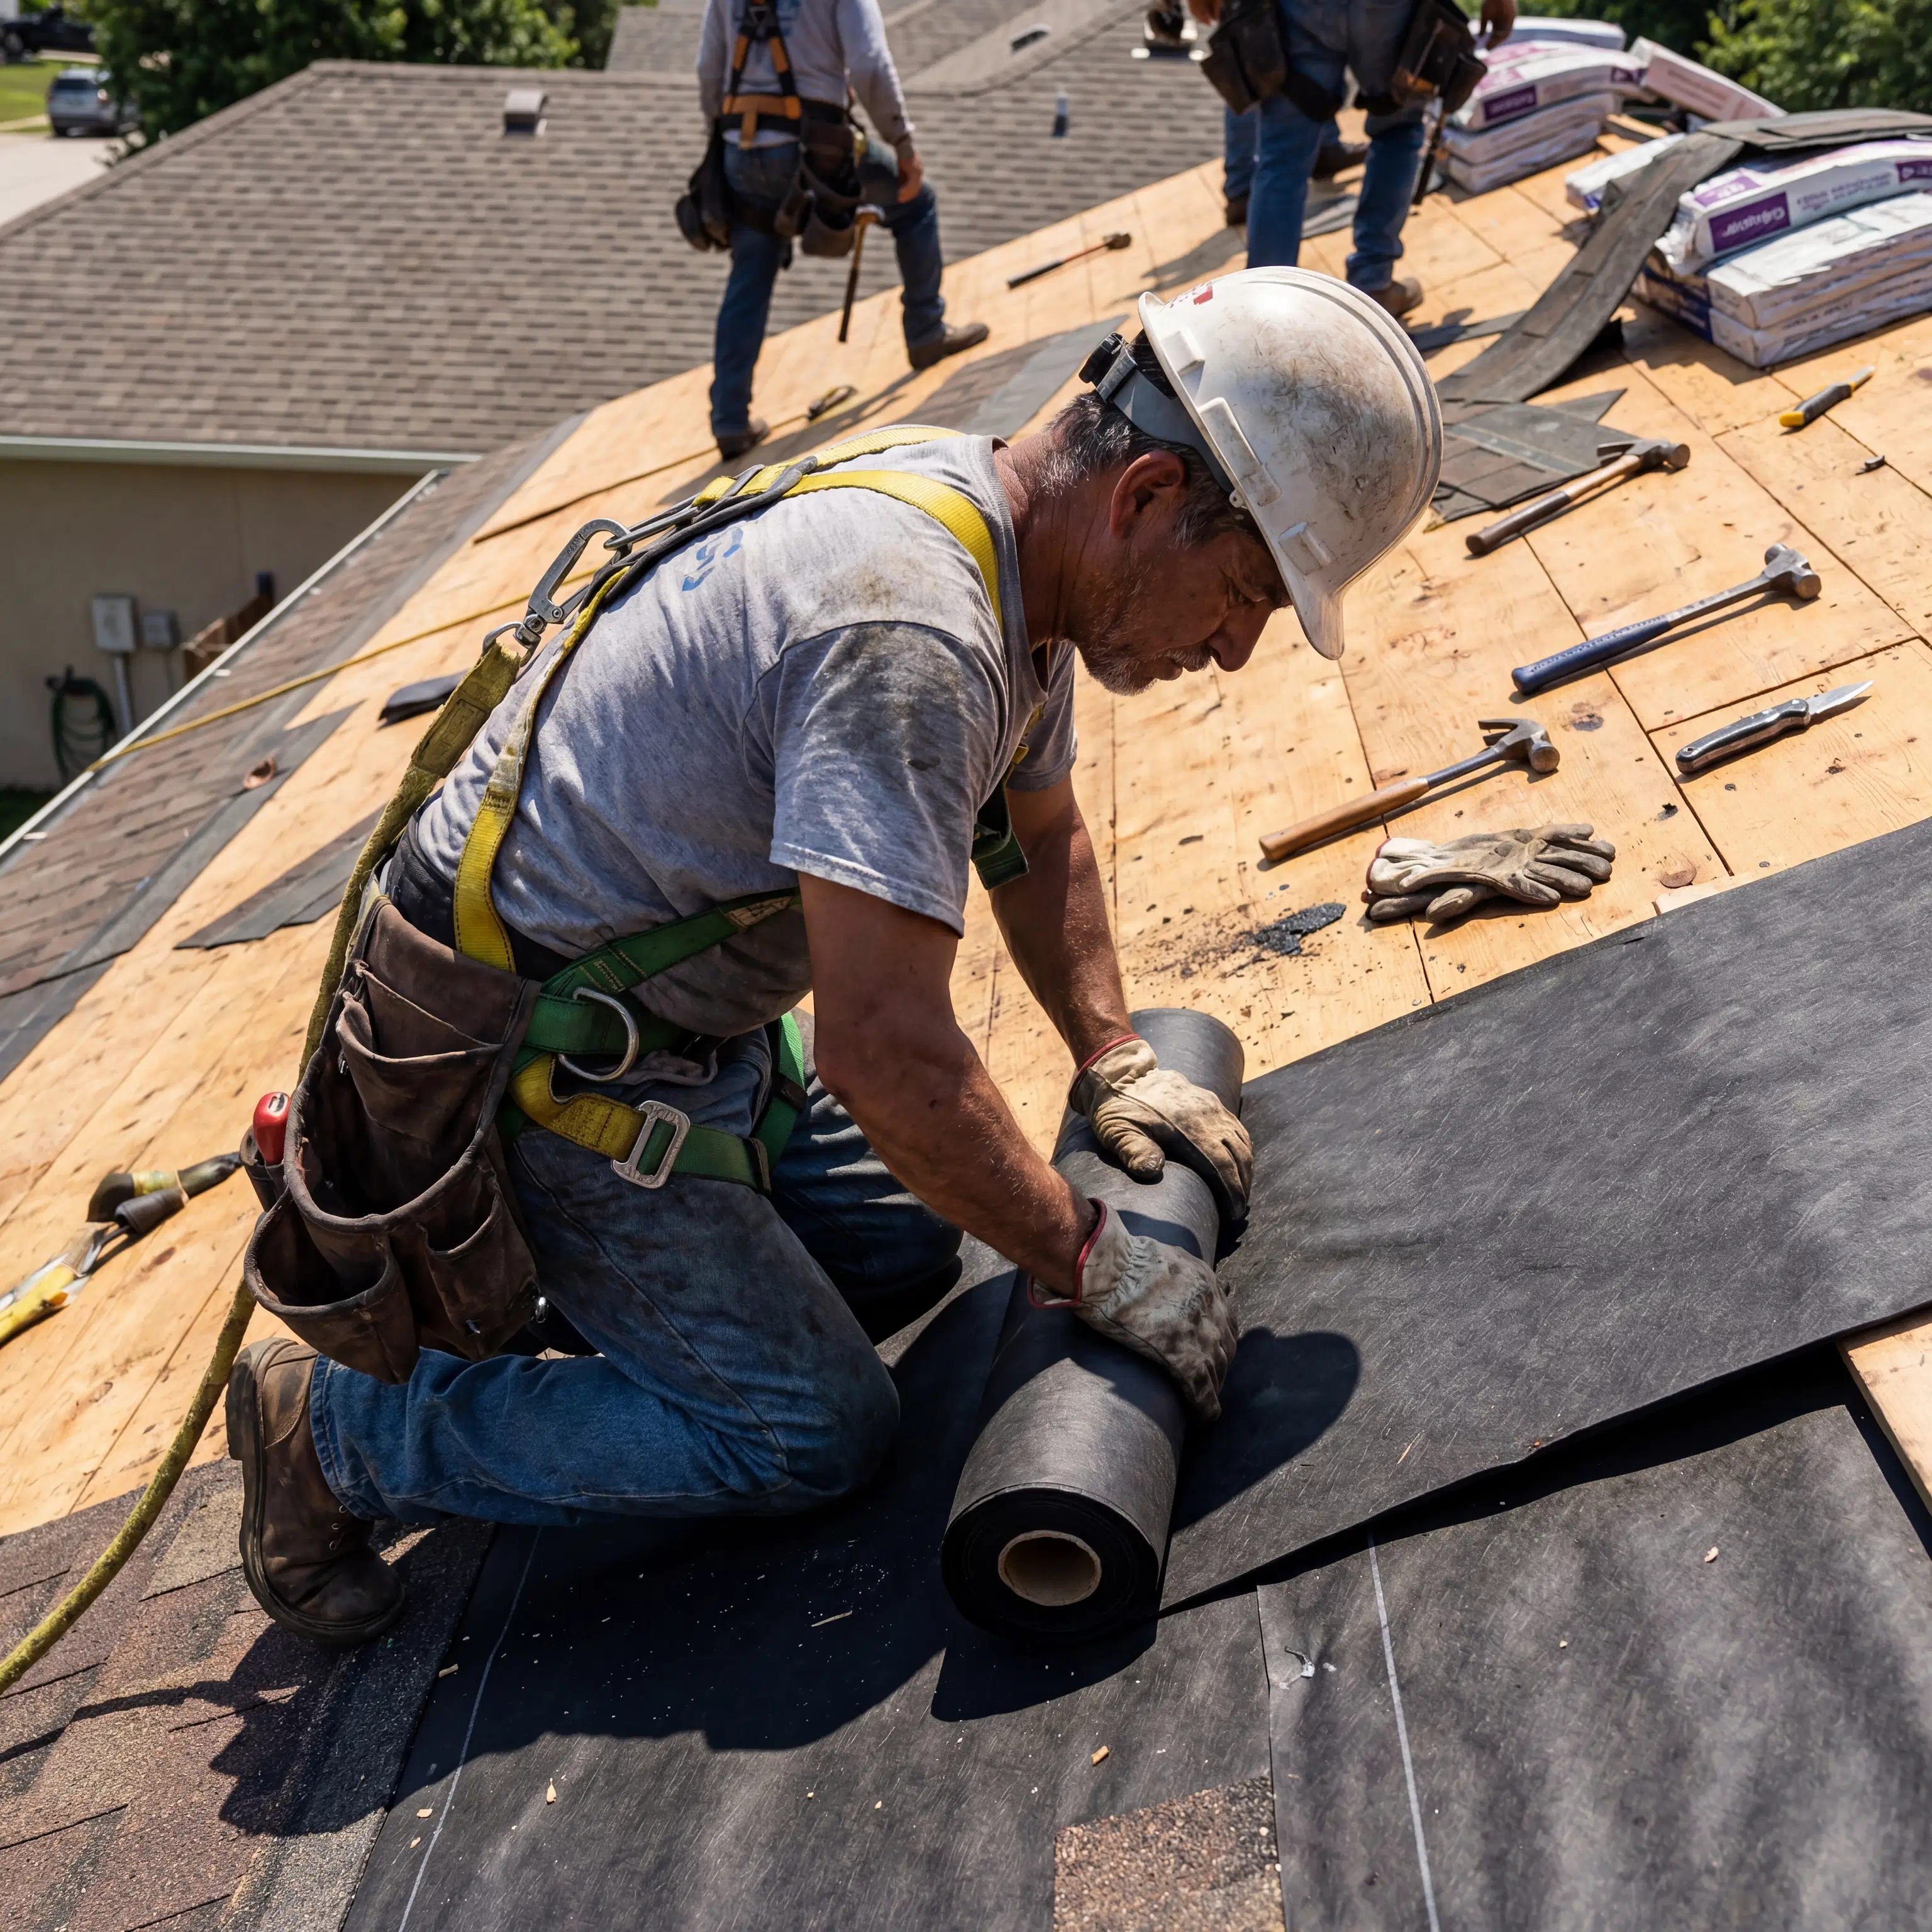
- Installation Requirements: Some associations may have rules regarding underlayment, ventilation, or other installation specifics to ensure durability and longevity across the community.
Step 2: Prepare a Complete and Professional Application
Once you understand the rules, the next step is to assemble a thorough application package. A well-prepared submission shows the HOA board or Architectural Review Committee (ARC) that you've done your homework and respect the community's standards. This is where partnering with an experienced roofing contractor makes a world of difference.
A professional can help you select high-quality, compliant materials that fit both the HOA’s requirements and your personal preferences. For your application, you will typically need:
- The Official Application Form: Fill it out completely and accurately.
- A Detailed Contractor Proposal: Your proposal from a reputable company like Midgard Industries should clearly outline the scope of work, the materials to be used (including brand and color name), and the total cost.
- Material Samples and Brochures: Include a physical sample of the shingle or a color chip if required. High-quality brochures for your chosen asphalt shingle or metal roofing system can also be very helpful.
- Contractor's Credentials: Provide copies of your contractor's license and insurance. This assures the HOA that the work will be performed by a qualified and insured professional, protecting both you and the community.
Step 3: The Submission and Approval Process
With your application package ready, submit it according to your HOA's instructions. Be mindful of deadlines for monthly or quarterly board meetings where approvals are reviewed. After submission, the waiting period begins. The review process can take anywhere from a few days to several weeks, so it's crucial to factor this timeline into your overall project schedule.
- Be Patient but Proactive: If you don't hear back within the timeframe specified in the guidelines, a polite follow-up email to the property manager or ARC is appropriate.
- Handling a Denial: In the event your application is denied, don't panic. The HOA will provide a reason for the denial. Often, it's a simple issue like a missing document or a request for a different color sample. Work with your contractor to make the necessary adjustments and resubmit the application.
Working with a contractor who has experience with local HOAs can be invaluable. They often anticipate potential issues and can help you prepare an application that gets approved on the first try, preventing unnecessary delays in protecting your home with a new residential roof.
Your Partner for a Hassle-Free Roof Replacement
Navigating HOA approval is a critical part of the roof replacement process, but it's a manageable one. By understanding the rules, preparing a thorough application, and working with a trusted professional, you can ensure your project proceeds smoothly from start to finish. An experienced local roofer not only guarantees a high-quality installation that meets Florida's stringent building codes but also acts as your partner in meeting community standards.
Once your beautiful new roof is installed, a proactive roof maintenance plan can also help ensure it stays in pristine, HOA-compliant condition for its entire lifespan.
If you're ready to begin your roof replacement project in the Orlando area, the team at Midgard Industries is here to help. We have extensive experience working with local HOAs and are committed to making the entire process, including approvals, as seamless as possible. Contact us today for a free, no-obligation consultation, and let's get started on protecting your home with a roof you'll love.